How to Make a Vision Board for Kids: A Step-by-Step Guide
A vision board for kids is a fun and creative way to help children explore their interests, express their dreams, and think about what they want to learn or experience. Using pictures, drawings, words, and colorful decorations, children can create a personalized board that reflects their goals and imagination.
Whether you are planning a weekend activity, a birthday party, a classroom project, or a children's craft workshop, making a vision board can be an enjoyable experience for children of different ages. It encourages them to think creatively while giving them the freedom to design something that feels personal and meaningful.
Unlike traditional goal-setting exercises, a children's vision board does not need to be complicated. It can focus on simple things, such as learning to ride a bike, making new friends, reading more books, developing artistic skills, or spending more time with family.
In this guide, you will learn how to make a vision board for kids step by step, which materials to use, and how to turn this creative project into a memorable group activity.
What Is a Vision Board for Kids?
A vision board is a collection of images, words, drawings, and symbols that represent a person's interests, hopes, and goals. For children, it can be a colorful display of things they enjoy, experiences they want to have, and skills they would like to develop.
For example, a child who loves animals might include pictures of dogs, cats, or wildlife. Another child who enjoys sports might add pictures of footballs, swimming pools, or running shoes. A child who loves art could include paintbrushes, colorful patterns, and pictures of handmade creations.
The purpose is not to predict the future or guarantee that every dream will come true. Instead, a vision board gives children an opportunity to explore their interests, think about possibilities, and identify small steps they can take toward their goals.
Benefits of Making a Vision Board for Kids
Creating a vision board offers several opportunities for learning and self-expression.
Encourages creativity: Children can experiment with colors, pictures, layouts, and decorations to create a board that reflects their personalities.
Supports goal-setting: Choosing a few things they want to learn or try can introduce children to the idea of setting manageable goals.
Builds self-awareness: Children can explore what they enjoy, what matters to them, and what they would like to experience.
Promotes positive thinking: Adding reminders of favorite activities, supportive relationships, and personal accomplishments can encourage children to appreciate what they have and look forward to new experiences.
Creates opportunities for conversation: Parents and caregivers can use the activity to learn more about children's interests and offer encouragement.
Every child approaches creative activities differently. Let children decide what belongs on their boards without comparing their ideas or expecting identical results.
Materials Needed to Make a Vision Board
Before starting, gather the supplies in one place. You do not need expensive equipment or professional craft materials to make a beautiful vision board.
Here is a simple list of supplies:
- Poster board, cardstock, or a sturdy sheet of paper
- Old magazines or printed pictures
- Child-safe scissors
- Glue sticks
- Colored pencils, markers, or crayons
- Stickers and decorative shapes
- Colored paper and patterned backgrounds
- Washi tape or decorative borders
- Pencils for writing ideas
- Optional labels, inspirational words, and short quotes
You can also use family photographs or children's own drawings. These personal touches can make the finished board more meaningful.
For younger children, prepare some pictures in advance and choose materials that are easy to handle. Supervise cutting and gluing activities, and avoid small decorative items that may present a choking risk.
Step-by-Step Guide to Making a Vision Board for Kids
Step 1: Talk About Dreams and Interests
Start with a relaxed conversation about what the child enjoys and wants to explore. Keep the discussion positive and open-ended.
You might ask questions such as:
- What is something new you would like to learn?
- What activity makes you feel happy?
- Is there a hobby you want to try?
- What would you like to do with your family or friends?
- What is something you feel proud of?
- Is there a skill you want to practice?
Children may mention sports, music, animals, travel, friendship, school, art, or helping others. Some may already have specific goals, while others may need time to think.
Avoid telling children what their goals should be. The purpose of a vision board is to reflect their own interests rather than someone else's expectations.
Step 2: Choose a Theme for the Board
A theme can help children organize their ideas and make the activity more exciting. However, a theme is optional; children can also create a board containing several different interests.
Here are a few popular ideas.
Dreams and Adventures: Include pictures of places to visit, activities to try, and experiences to enjoy.
Learning and School: Add books, educational activities, subjects the child enjoys, and skills they want to develop.
Hobbies and Talents: Use images related to sports, music, painting, dancing, cooking, or other interests.
Friendship and Family: Include drawings or words representing kindness, shared activities, family time, and meaningful relationships.
Healthy Habits: Add reminders about outdoor play, reading, drinking water, getting enough rest, or spending time away from screens.
Let children combine themes if they have several interests. A vision board should feel like their own creative space.
Step 3: Find Pictures, Words, and Symbols
Once children have chosen their ideas, help them gather pictures and words that represent those interests.
They can cut images from old magazines, use printed pictures, draw their own illustrations, or write meaningful words on colored paper.
For example, a child who wants to learn to swim might add a picture of a swimming pool. A child who wants to become more confident in drawing could include paintbrushes, pencils, and pictures of artwork they admire.
Encourage children to choose images that make sense to them. They do not need to find a perfect picture for every idea. A simple drawing or handwritten word can work just as well.
Step 4: Arrange the Ideas Before Gluing
Before attaching anything, ask children to place their pictures and words on the board to see how everything fits together.
They can group similar interests in one area or spread their ideas across the board. Some children may prefer a neat layout, while others might enjoy a colorful collage.
A useful approach is to place the child's name or a favorite phrase near the center and arrange pictures around it. Another option is to divide the board into sections, such as hobbies, learning, family, and future experiences.
Give children time to experiment with different arrangements. Moving the pictures around before gluing helps them make decisions and create a layout they enjoy.
Step 5: Decorate the Vision Board
Now comes the fun part: decorating!
Children can use markers, stickers, colorful borders, paper shapes, and drawings to personalize their boards. They might add stars around a favorite goal, draw flowers between pictures, or use different colors for different categories.
Encourage children to write short phrases that inspire them. Examples include:
- Keep learning.
- Try something new.
- Be kind.
- Practice and improve.
- Believe in yourself.
- Celebrate small steps.
Use language that encourages effort rather than perfection. Children should understand that learning takes time and that changing interests is perfectly normal.
Step 6: Add Small, Achievable Goals
A vision board becomes more useful when children connect some of their ideas to manageable actions.
For example, if a child wants to read more books, they could choose a book to read each week. If they want to improve their drawing skills, they might set aside time for drawing a few times a week.
Help children identify one or two simple steps for selected goals. Avoid filling the board with too many tasks or deadlines.
The goal is to make their ideas feel approachable, not to create pressure. Some interests may remain dreams for now, and that is okay.
Step 7: Display the Finished Board
Once the vision board is complete, let the child choose a suitable place to display it. A bedroom wall, study area, or family activity space can work well.
Ask permission before attaching anything to walls, and use appropriate hanging materials.
The board can serve as a reminder of the child's interests and ideas. It can also become a conversation starter when family members discuss new activities, celebrate progress, or revisit favorite goals.
Remember that children may develop new interests over time. Their boards can be updated whenever they want to add, remove, or change something.
Creative Vision Board Ideas for Different Ages
Vision board activities can be adapted to suit children's ages and abilities.
Vision Boards for Preschoolers
Use large pictures, simple drawings, stickers, and a few familiar words. Adults can help with cutting and gluing while children choose the images and colors.
Vision Boards for Elementary School Children
Children can organize their boards into categories, write simple goals, and select pictures independently with appropriate supervision.
Vision Boards for Older Kids and Preteens
Older children may enjoy more detailed themes, personal reflections, hobby goals, and plans for developing particular skills. Give them greater independence in designing their boards.
The most important thing is to make the activity enjoyable and suitable for each child's developmental level.
Turn Vision Board Making Into a Children's Craft Workshop
A vision board project can be an excellent activity for a birthday celebration, school break, family gathering, or children's craft workshop. It gives participants something creative to do and a personalized keepsake to take home.
To organize a group activity, prepare separate craft stations with poster boards, pictures, markers, stickers, and glue sticks. Introduce the project with a few simple examples, then allow each child to develop an individual design.
You can also include a short sharing session where children explain a favorite picture or idea if they feel comfortable doing so. Participation should remain optional, especially for children who prefer to keep their boards private.
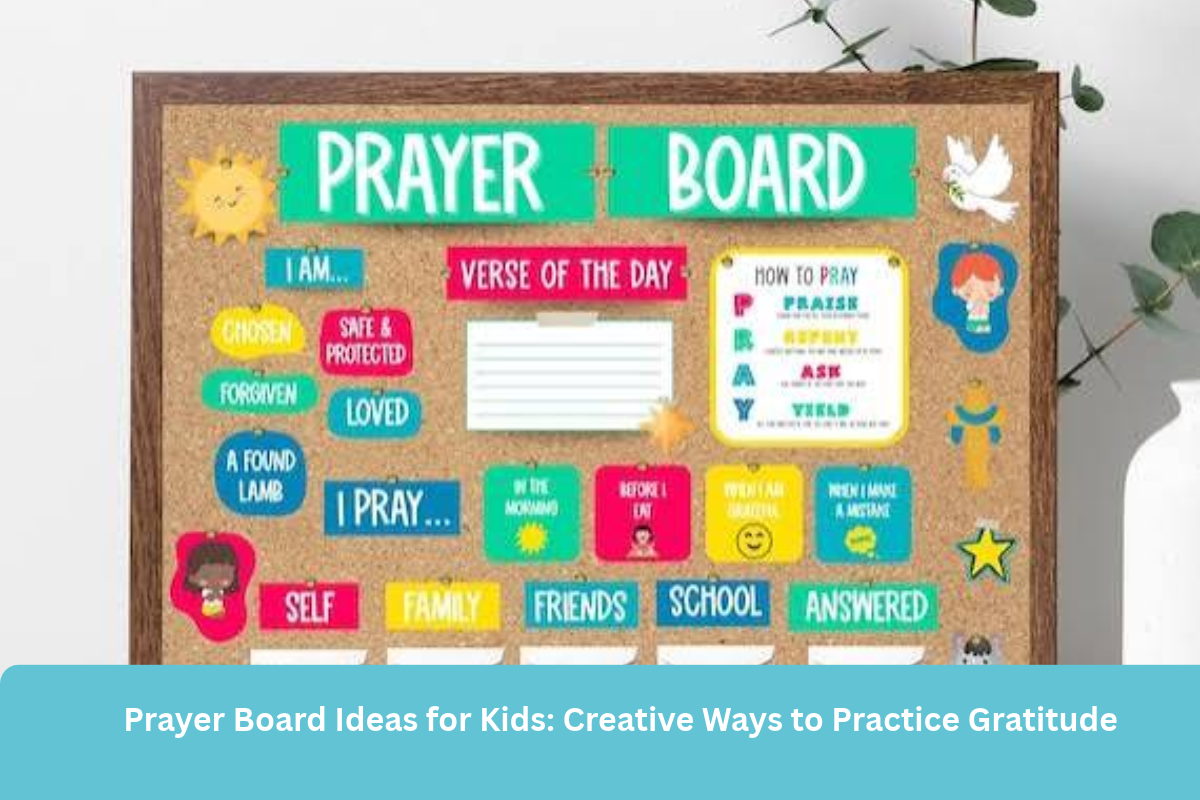
For parents looking for organized creative activities, Party Jam Plus offers vision board activities alongside children's craft workshops, Honeybee Bracelets, and prayer board projects. These services can provide inspiration for celebrations that combine creativity, personal expression, and hands-on fun.
Common Mistakes to Avoid
When making a vision board with children, remember that the experience matters more than the finished appearance.
- Setting goals for the child: Let children choose their own interests rather than directing every decision.
- Focusing on perfection: Avoid correcting every placement or decoration. Creative freedom is part of the activity.
- Adding too many goals: A crowded board can become overwhelming. Encourage children to focus on ideas they genuinely care about.
- Comparing boards: Every child's interests and creative style are different. Celebrate each board individually.
- Treating dreams as promises: Explain that a vision board represents hopes and possibilities, not guaranteed outcomes.
Keep the activity encouraging, flexible, and fun.
FAQ'S
What should a child put on a vision board?
Children can include pictures, drawings, words, hobbies, skills they want to learn, places they would like to visit, and activities they hope to try. The board should reflect their individual interests.
At what age can kids make vision boards?
Children can begin with simple picture-based boards during the preschool years with adult assistance. Older children can create more detailed boards and write their own goals.
How long does it take to make a vision board?
A simple project may take 30 to 60 minutes, while a more detailed craft session can take longer. Allow enough time for children to choose pictures, arrange their ideas, and decorate at their own pace.
How often should kids update their vision boards?
There is no fixed schedule. Children can update their boards whenever their interests change, they reach a goal, or they have new ideas they want to include.
Can vision board making be a birthday party activity?
Yes. Vision board making can be a creative birthday party activity because each child gets to design a personalized board and take it home. Prepare age-appropriate supplies and allow enough time for everyone to participate.